Building a Seawall: From Rock to Wood and Everything In Between
What You Need to Know Before Building a Seawall
Building a seawall is one of the most effective ways to protect waterfront property from erosion, storm surge, and flooding. Here’s a quick overview of how it’s done:
- Survey your site – measure the high water mark, shoreline length, and elevation changes
- Get permits – contact your local floodplain administrator, Army Corps of Engineers, and DNR
- Choose your material – concrete, steel, vinyl, or wood depending on wave energy and budget
- Install pilings – drive posts every 6-8 feet, 4-6 feet deep into the ground
- Secure tiebacks and anchors – placed 6-9 feet back from the shoreline for structural support
- Backfill and finish – use rock, gravel, and topsoil to restore the shoreline grade
Erosion is a serious and ongoing threat to any waterfront property. Waves, storms, boat wakes, and shifting sediment can silently eat away at your shoreline – sometimes faster than you’d expect.
A seawall creates a hard barrier between the water and your land. It stops that erosion in its tracks. Done right, it can last 50 to 75+ years. Done wrong, it can fail within a few seasons – and take your shoreline with it.
The challenge? Seawall construction isn’t one-size-fits-all. The right approach depends on your water conditions, soil type, local regulations, and budget. A calm freshwater lake calls for a very different solution than an exposed coastal shoreline with heavy wave action.
This guide walks you through everything – from permits and materials to step-by-step construction methods – so you can make smart, informed decisions about protecting your waterfront.
Planning and Permitting for Your Shoreline Project
Before we even think about driving the first piling into the pluff mud of the Lowcountry, we have to start with a solid plan. In Charleston and Johns Island, the environment is as beautiful as it is demanding. Building a seawall here requires a deep understanding of our local tides and soil composition.
The first step is a comprehensive site survey. We need to look at the length of the shoreline, any significant elevation changes, and the curves of the land. One of the most critical measurements is the high water mark. We recommend tracking this for at least one month. Why? Because a wall that is too short is just an expensive speed bump for a storm surge. If wave action can overtop the structure, it causes rapid erosion behind the wall, leading to catastrophic failure.
We also have to consider what’s happening behind the wall. Land-side drainage is vital. If rainwater gets trapped behind your seawall with nowhere to go, the hydrostatic pressure can literally push the wall over. We often look for “No Adverse Impact” (NAI) designs, ensuring that by protecting your property, we aren’t accidentally redirecting floodwaters onto your neighbor’s lawn.
For those just starting to explore their options, the Coastal Shore Stewardship: A Guide for Planners, Builders and Developers provides an excellent foundation for understanding how construction interacts with our delicate ecosystems. For more tailored advice on your specific backyard, you can check out more info about residential services.
Essential Permits for Building a Seawall
If there’s one thing that moves slower than a sea turtle on the beach, it’s the permitting process. However, skipping this step is a recipe for legal and financial disaster. Because seawalls sit at the intersection of private land and public waterways, several agencies want a seat at the table.
In Southeast South Carolina, you will likely need to navigate the USACOE regulatory program. The Army Corps of Engineers oversees any work that might affect navigable waters. Additionally, the South Carolina Department of Natural Resources (DNR) and the Department of Health and Environmental Control (DHEC) — specifically the Office of Ocean and Coastal Resource Management (OCRM) — have strict requirements to protect our marshes and fisheries.
Local floodplain ordinances also come into play. Many communities in the Lowcountry have specific codes regarding the height and material of shoreline structures. You’ll need to provide environmental impact assessments to show that your project won’t harm local spawning areas or protected beach grass. It sounds like a lot of red tape, but these regulations ensure that our beautiful coastline remains intact for the next generation of beachgoers and boaters.
Choosing the Right Materials for Building a Seawall
Not all seawalls are created equal. The material you choose will dictate how long the wall lasts, how much maintenance it needs, and how well it stands up to the salty, corrosive air of the Charleston coast.
| Material | Average Lifespan | Maintenance Needs | Primary Benefits |
|---|---|---|---|
| Concrete | 50+ Years | Low | Extremely strong, handles heavy wave action |
| Steel | 30-50 Years | Medium | Economical, great for tough soil/rock |
| Vinyl | 50+ Years | Very Low | UV resistant, won’t rust or rot, easy install |
| Wood | 20-30 Years | High | Aesthetic appeal, lower initial cost |
When we evaluate materials, we have to think about saltwater corrosion and marine borers (tiny organisms that treat untreated wood like a buffet). For high-traffic areas or commercial docks, we often lean toward more robust solutions. You can find more info about commercial services to see how these materials perform on a larger scale.
Concrete and Steel Solutions
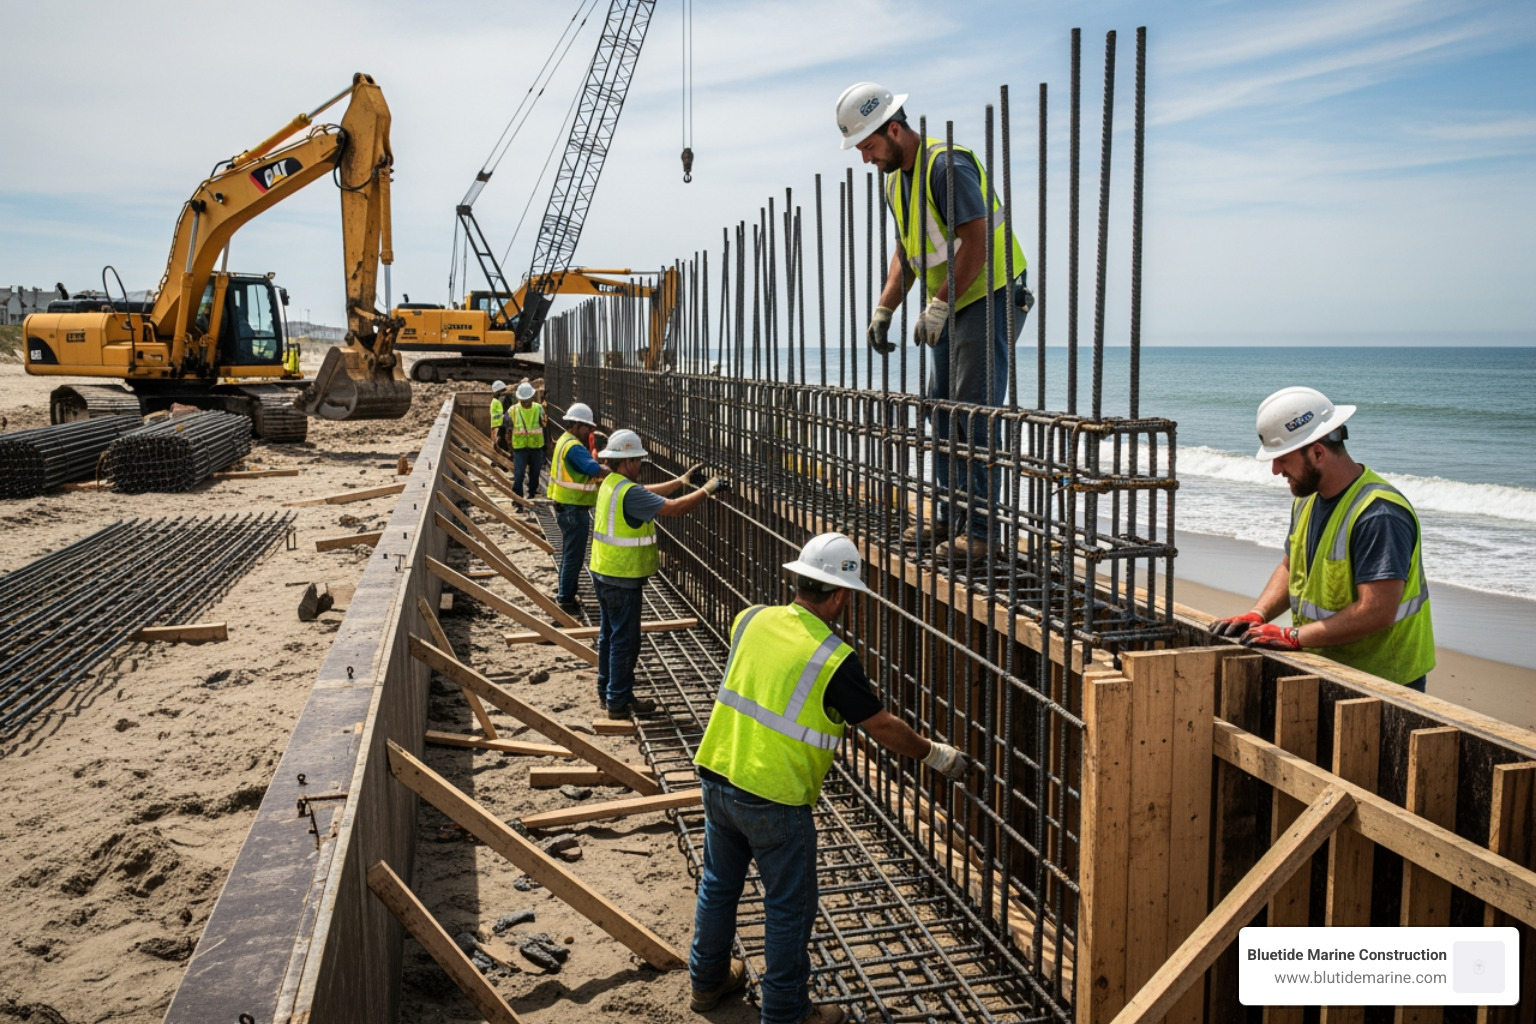
For properties facing the open water or areas with heavy boat wakes, monolithic concrete is the gold standard. These walls are heavily engineered and can be built to last well over 50 years. We use reinforcement cages (rebar) to give the concrete the tensile strength it needs to resist the constant pushing and pulling of the tide.
Steel sheet piling is another powerful option, especially if the ground is particularly hard or rocky. We use galvanized or coated steel to delay the inevitable rust that comes with saltwater exposure. One of the unique benefits of steel and concrete is their ability to reflect wave energy. However, keep in mind that a smooth, vertical concrete wall can reflect energy so efficiently that it actually erodes the sand at the base of the wall (the “toe”). This is why toe protection is so important.
Vinyl, Composites, and Wood
In many residential canals or calmer tidal creeks around Johns Island, vinyl and composite materials have become the preferred choice. Vinyl Z-panel sheets are incredibly durable because they are completely immune to marine borers and saltwater corrosion. They also resist fading from the intense South Carolina sun.
Wood is the classic choice, and for many, nothing beats the aesthetic of pressure-treated lumber. However, wood requires the most “TLC.” It can warp, decay, or succumb to those pesky marine borers if not treated properly. We typically recommend wood for freshwater applications or as a decorative “cap” on a more durable vinyl wall.
Step-by-Step Guide to Building a Seawall
Building a seawall is a massive undertaking that involves heavy machinery, precise engineering, and a lot of sweat. Whether you are looking at a DIY project for a small pond or a professional installation for a coastal lot, the steps generally follow a similar path.
The DIY Method: Metal Poles and Lumber
While we usually recommend professional help for tidal areas, a basic seawall for a calm, private pond can sometimes be a DIY weekend project.
- Set the Poles: Use metal pipes (typically 3 inches in diameter and 4-5 feet long) as your primary supports. These should be spaced every 8 feet.
- Dig and Pour: Dig holes at least 2 feet deep. If you hit rock, you might need a jackhammer. Position your poles, ensure they are level, and pour quick-drying concrete. Let them set for at least 24 hours.
- Weld the Rebar: To hold your lumber, weld U-shaped threaded rebar onto the metal pipes. This creates a “sleeve” for your boards.
- Install Lumber: Use 2×10 or 2×12 pressure-treated lumber. Drill holes to match the rebar and slide the boards into place, securing them with galvanized nuts and washers.
- Drainage and Fill: This is the most important part! Fill the land side with a layer of large rocks and gravel. This allows water to drain through without washing away your soil. Top it off with sand and topsoil.
The Professional Method: Sheet Piles and Tiebacks
For a “real world” seawall that needs to stand up to the Atlantic, we use a much more intensive process.
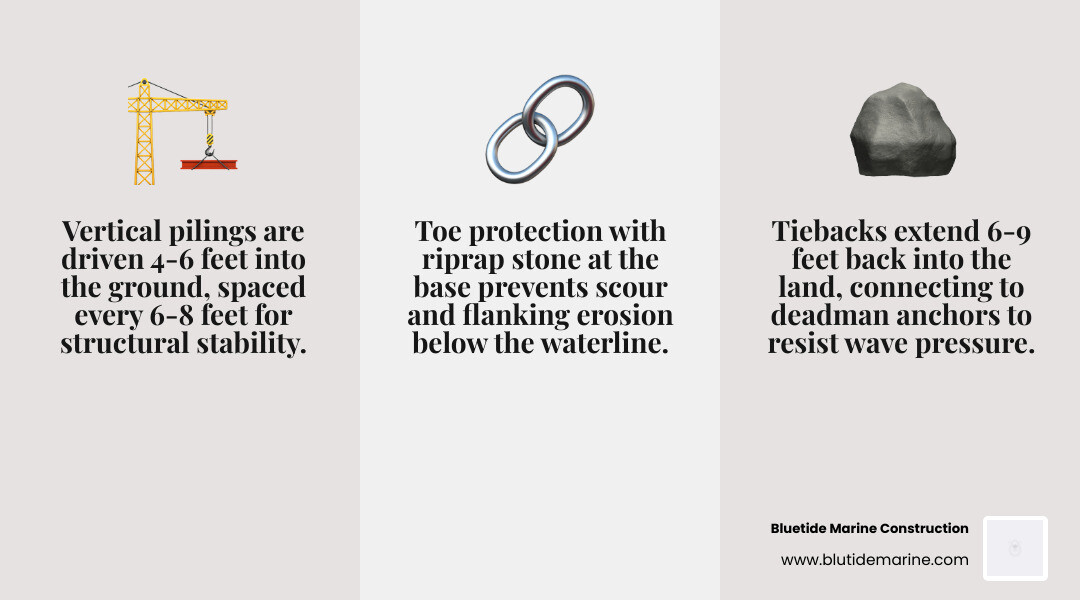
- Piling Depth: We drive our pilings (whether vinyl, steel, or concrete) deep into the ground — usually 4 to 6 feet deep, depending on the soil. We often use vibration hammers or water jetting to get them through the tough layers.
- Tiebacks and Anchors: A wall is only as strong as what’s holding it back. We install tiebacks (long rods) every 7.5 feet, extending 6 to 9 feet back into the property. These are connected to “deadman” anchors — heavy blocks of concrete or steel buried deep in the yard.
- Waler Boards and Caps: We secure horizontal “waler” boards to the face of the wall to keep everything aligned. Finally, we weld or pour a cap on top. This isn’t just for looks; the cap ties all the vertical piles together into one single, rigid structure.
Engineering for Longevity and Environmental Impact
A seawall is a fight against physics. To ensure longevity, we have to estimate the maximum wave height and potential storm surge the wall will face. We also design for “overtopping” — ensuring that if a wave does go over the wall, the water has a clear path to drain back out without undermining the foundation.
Toe protection is another non-negotiable. By placing riprap (large, jagged rocks) at the base of the wall, we break up the wave energy before it hits the structure. This prevents the “scouring” effect where waves scoop out the sand from under the wall, which is the leading cause of seawall collapse.
Balancing Protection and Ecology
In the Lowcountry, we share our waters with incredible wildlife. Modern seawall design is moving toward “living” or “hybrid” shorelines. This includes using biomimicry textures on concrete panels. Instead of a smooth wall, we use textured surfaces that mimic the nooks and crannies of a natural oyster reef. This encourages algae growth and provides hiding spots for small fish and crabs.
We also consider light-penetrating surfaces for nearby docks to help maintain underwater vegetation. By following NAI (No Adverse Impact) principles, we ensure that our construction doesn’t disrupt the natural migration of local species or negatively impact the property next door.
Frequently Asked Questions about Seawall Construction
How long does a typical seawall last?
In our experience around Charleston, a well-maintained concrete or vinyl seawall can easily last 50 to 75 years. Steel walls typically see 30 to 50 years before the salt spray starts to win the battle against the metal. Wood walls have the shortest lifespan, usually around 20 to 30 years, and require much more frequent inspections to catch rot or borer damage early.
When should I hire a professional instead of doing it myself?
If your property is on tidal water, has a steep slope, or experiences heavy wave action, you should definitely hire a professional. Building a seawall in these conditions requires heavy equipment like vibratory hammers and barges, not to mention the complex engineering needed to calculate soil pressure and wave runup. Furthermore, navigating the permit process with the Army Corps of Engineers is a full-time job in itself!
What maintenance is required for a seawall?
Think of your seawall like your car; it needs regular checkups.
- Monthly: Do a quick visual inspection. Look for new cracks in the cap or soil settling behind the wall.
- Seasonally: Clear away debris and check that your drainage “weep holes” aren’t clogged.
- Annually: Have a professional check the integrity of the tiebacks and look for any signs of “scouring” at the base of the wall.
Conclusion
At Bluetide Marine Construction, we believe a seawall is more than just a barrier; it’s a long-term investment in the safety and value of your home. Whether you are looking for the rugged durability of concrete or the clean, modern look of vinyl, the key to success lies in the details — the depth of the pilings, the strength of the tiebacks, and the quality of the backfill.
Living in the Lowcountry means living with the water. By building a resilient, expertly engineered shoreline, you can enjoy the beauty of the Charleston coast without the constant worry of losing your land to the next big storm. If you’re ready to protect your slice of paradise, we’re here to help.
Schedule a consultation for your waterfront property and let’s build something that lasts.