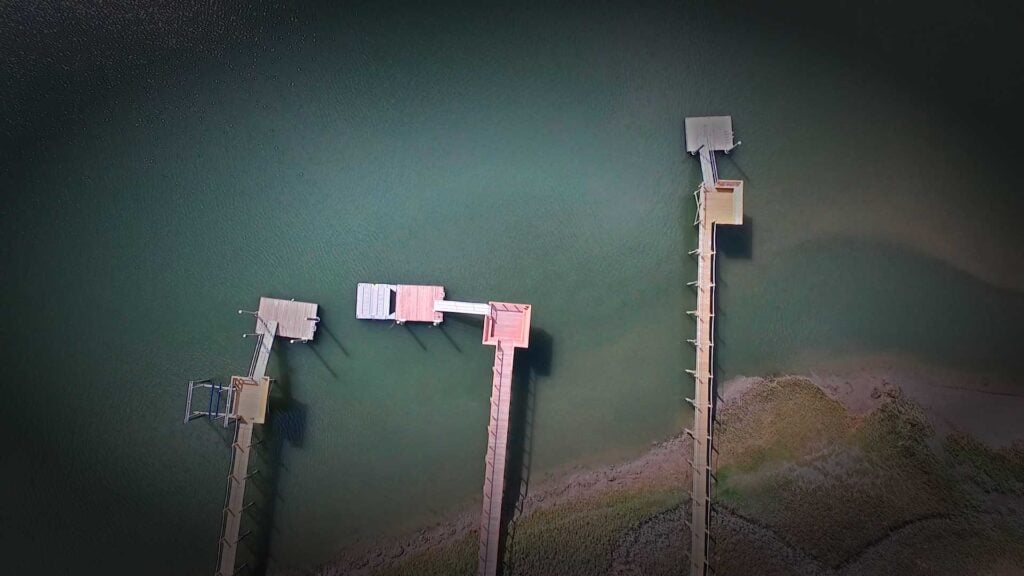
The annual dock inspection checklist: what to look at, and what it means
Late September is the right time to walk your dock. Storm season has done whatever it is going to do, the water is still warm enough to work in, and there is time to get repairs scheduled before winter. An hour with this checklist once a year will catch nearly every problem worth catching while it is still cheap.
This is the walk-through we use ourselves. Work it in order — top down, bank to pierhead — and write down what you find. That written record is worth more than most owners realise: it establishes condition before a storm, it supports an insurance claim after one, and it is the difference between a buyer trusting your dock and discounting it.
Before you start
Go at low tide — check the day’s predicted low against the NOAA Charleston Harbor tide station and aim for the bottom of the cycle. Everything that matters — piling condition at the waterline, scour at the base, marine growth, float clearance — is visible at low water and hidden at high. Take a torch, a phone for photographs, a screwdriver or awl for probing timber, and a tape measure. If any part of the structure feels unsound underfoot, stop and call someone; a dock that has lost its connections can hold its shape until it does not. Our guide to storm damage assessment covers what makes a structure unsafe to walk on.
1. The pilings
Everything rests on these, so they come first. For each piling:
- Plumb. Sight down the row. Any piling that has tilted or moved relative to its neighbours has lost embedment or been pushed. This is not cosmetic.
- The waterline band. The zone that alternates wet and dry is where timber degrades fastest. Look for softening, checking, and section loss.
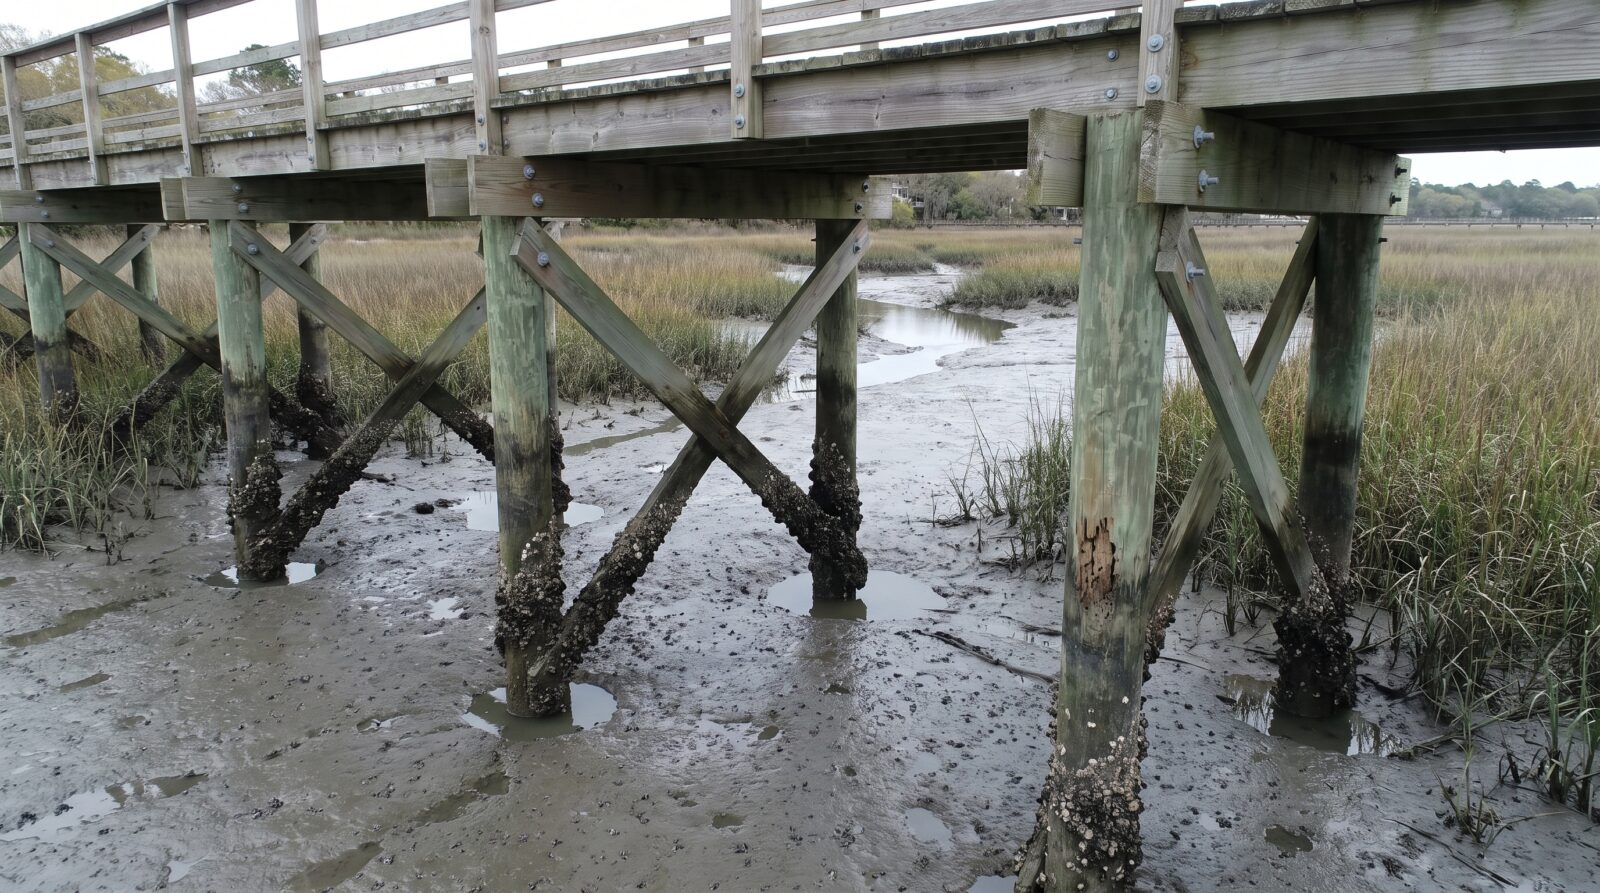
- Below the waterline. At low tide, check for marine borer damage — an hourglass narrowing just below the mud or waterline is the classic signature. Probe with an awl; sound timber resists, compromised timber gives.
- At the mudline. Look for scour — sediment washed away from the base, leaving the piling standing proud of the surrounding bed. Scour reduces embedment and is progressive.
- Marine growth. Heavy barnacle and oyster accumulation adds load and hides damage. Note it; do not remove it aggressively enough to damage treated timber.
What it means: one or two compromised pilings is a routine repair. Several, or any that have moved, is a structural conversation. Our guide to dock piling repair and replacement covers what can be sleeved or wrapped and what has to come out.
2. Connections and hardware
This is where docks actually fail, and it is the section owners skip.
- Bolts at every piling-to-stringer connection — loose, corroded, or missing?
- Elongated bolt holes, where the fastener has been working in the timber. A sign of movement under load.
- Brackets, straps, and joist hangers — rust bloom, section loss, or lifting.
- Galvanic corrosion where dissimilar metals meet. Stainless against galvanised will eat one of them.
- Ramp hinges, rollers, and bearing points — the highest-wear items on the whole structure.
What it means: hardware is cheap and hardware failures are what turn a storm into a rebuild. Anything corroded through should be replaced this season, not next.
3. Framing and decking
- Walk the full length and feel for soft spots, spring, or bounce. Note where it changes.
- Probe the stringers and joists from underneath where you can reach them, particularly at the ends where water sits.
- Check for cupping, splitting, and raised fasteners on decking boards.
- Look at the transitions — bank to walkway, walkway to pierhead. These take the most movement.
- Handrails: push on them. They should not move. Handrail failure is the most common injury cause on private docks.
What it means: decking is the cheapest layer to replace and the least structurally important. Springy decking over sound framing is a board problem; springy decking near the bank with sound boards is a framing problem. Our guide to decking materials for Charleston saltwater covers what to replace it with.
4. The float, ramp, and guides
- Guide pilings: is the float still riding freely, or is it binding? Binding wears both.
- Freeboard: is the float sitting level and at its designed height, or has a billet taken on water? A corner sitting low means a compromised float.
- Flotation: look for cracked or punctured encapsulation, and for polystyrene crumb in the water — the sign of unencapsulated foam breaking down.
- At the lowest tide of the year, does the float ground? A float that sits on mud is being damaged every cycle.
- Ramp: check the slope at low tide is still walkable, and that the rollers or wheels move.
Our explainer on floating dock mooring systems covers how these components are meant to behave.
5. Boat lift
- Cables — any broken strands, birdcaging, corrosion, or flat spots. A single broken strand means replace, not monitor.
- Pulleys and sheaves turning freely, with no grooving.
- Motor housing sealed, wiring intact, and the disconnect working.
- Cradle beams and bunks — corrosion, alignment, and padding condition.
- Run it through a full cycle unloaded and listen.
What it means: lift cables are a life-safety item and the cheapest component on the structure. Replace on condition, not on schedule. See our boat lift guide.
6. Electrical
- GFCI protection present and tested — press the test button, confirm it trips.
- Fixtures, outlets, and covers sealed and intact.
- Conduit secure, with no exposed or dangling wiring.
- Any sign of corrosion inside enclosures.
What it means: electricity and water are the one area of dock maintenance where there is no acceptable margin. Anything questionable gets isolated at the breaker and looked at by an electrician.
7. The shoreline behind it
Look landward as well as seaward — this is where the expensive problems start quietly.
- Sinkholes, soft spots, or settling in the yard behind a bulkhead or seawall. This means fill is escaping through the wall and it will not stop on its own.
- The wall leaning outward at the top — a tie-back problem.
- Cap separation, gaps at joints, or vegetation growing through the wall.
- Scour at the toe, and at either end where the wall terminates.
- Undercutting or slumping at the bank where the walkway lands.
Our comparison of bulkheads, seawalls and riprap covers the options if the wall is reaching the end of its life.
Priority: what to fix now, soon, or watch
| Finding | Priority |
|---|---|
| Any electrical fault, or GFCI that will not trip | Now — isolate immediately |
| Broken lift cable strand | Now — do not lift a boat |
| Loose or failing handrail | Now |
| Piling that has moved or lost plumb | Now — assessment required |
| Sinkholes behind a bulkhead | Now — progressive and expensive |
| Corroded or missing structural fasteners | This season |
| Borer damage at or below the waterline | This season — assessment |
| Float sitting low at one corner | This season |
| Springy or soft decking | This season if near the bank; next year if isolated |
| Heavy marine growth, surface weathering | Watch and note |
Keep the record
Photograph what you find, date it, and keep it with your permit and construction drawings. Two things come from that file. Before a storm, it establishes the structure’s condition — which is exactly what an adjuster asks for afterwards. At sale, it converts your dock from an unknown into a documented asset, and buyers pay for known quantities. Our piece on what a dock adds to waterfront property value covers why that matters more than most owners expect.
Frequently asked questions
How often should a dock be inspected?
Once a year as a minimum, ideally at the end of storm season, plus a check after any named storm or unusual high-water event. Boat lift cables and electrical components deserve a look more often than annually if the dock is in regular use.
When is the best time to inspect a dock in the Lowcountry?
Late September through October. Storm season has passed, the water is still comfortable to work in, and there is time to schedule repairs before winter. Always inspect at low tide — piling condition, scour, and float clearance are only visible at low water.
How long does a dock last in Charleston?
A well-built pressure-treated timber dock in Lowcountry saltwater typically gives 20 to 30 years, with decking replaced once or twice in that time. Marine-grade aluminium and composite construction reaches further. Service life depends far more on hardware specification and maintenance than on the decking you can see.
What are the signs a dock piling needs replacing?
Visible tilt or movement relative to neighbouring pilings; softening that gives under an awl; an hourglass narrowing near the waterline or mudline from marine borers; and scour that has washed sediment away from the base. Any piling that has moved needs a professional assessment rather than monitoring.
What does it mean if there are sinkholes in my yard behind the seawall?
Fill is escaping through or under the wall. It is the earliest warning of bulkhead failure and it is progressive — every tide takes a little more. It should be assessed promptly, because the cost of addressing it rises steadily the longer it continues.
Can I do dock maintenance myself?
Inspection, cleaning, and replacing individual deck boards are reasonable owner tasks. Anything structural — pilings, connections, framing — and anything electrical should go to a licensed marine contractor or electrician. The hazard is not the work itself so much as working over water on a structure whose condition you have not yet established.
Want a professional inspection instead?
We inspect docks, seawalls, and bulkheads across Charleston and the Lowcountry and provide a written condition report with photographs and a prioritised repair schedule — the kind of document that supports an insurance claim or a property sale. If your walk-through turned up something you would rather have a second opinion on, get in touch.